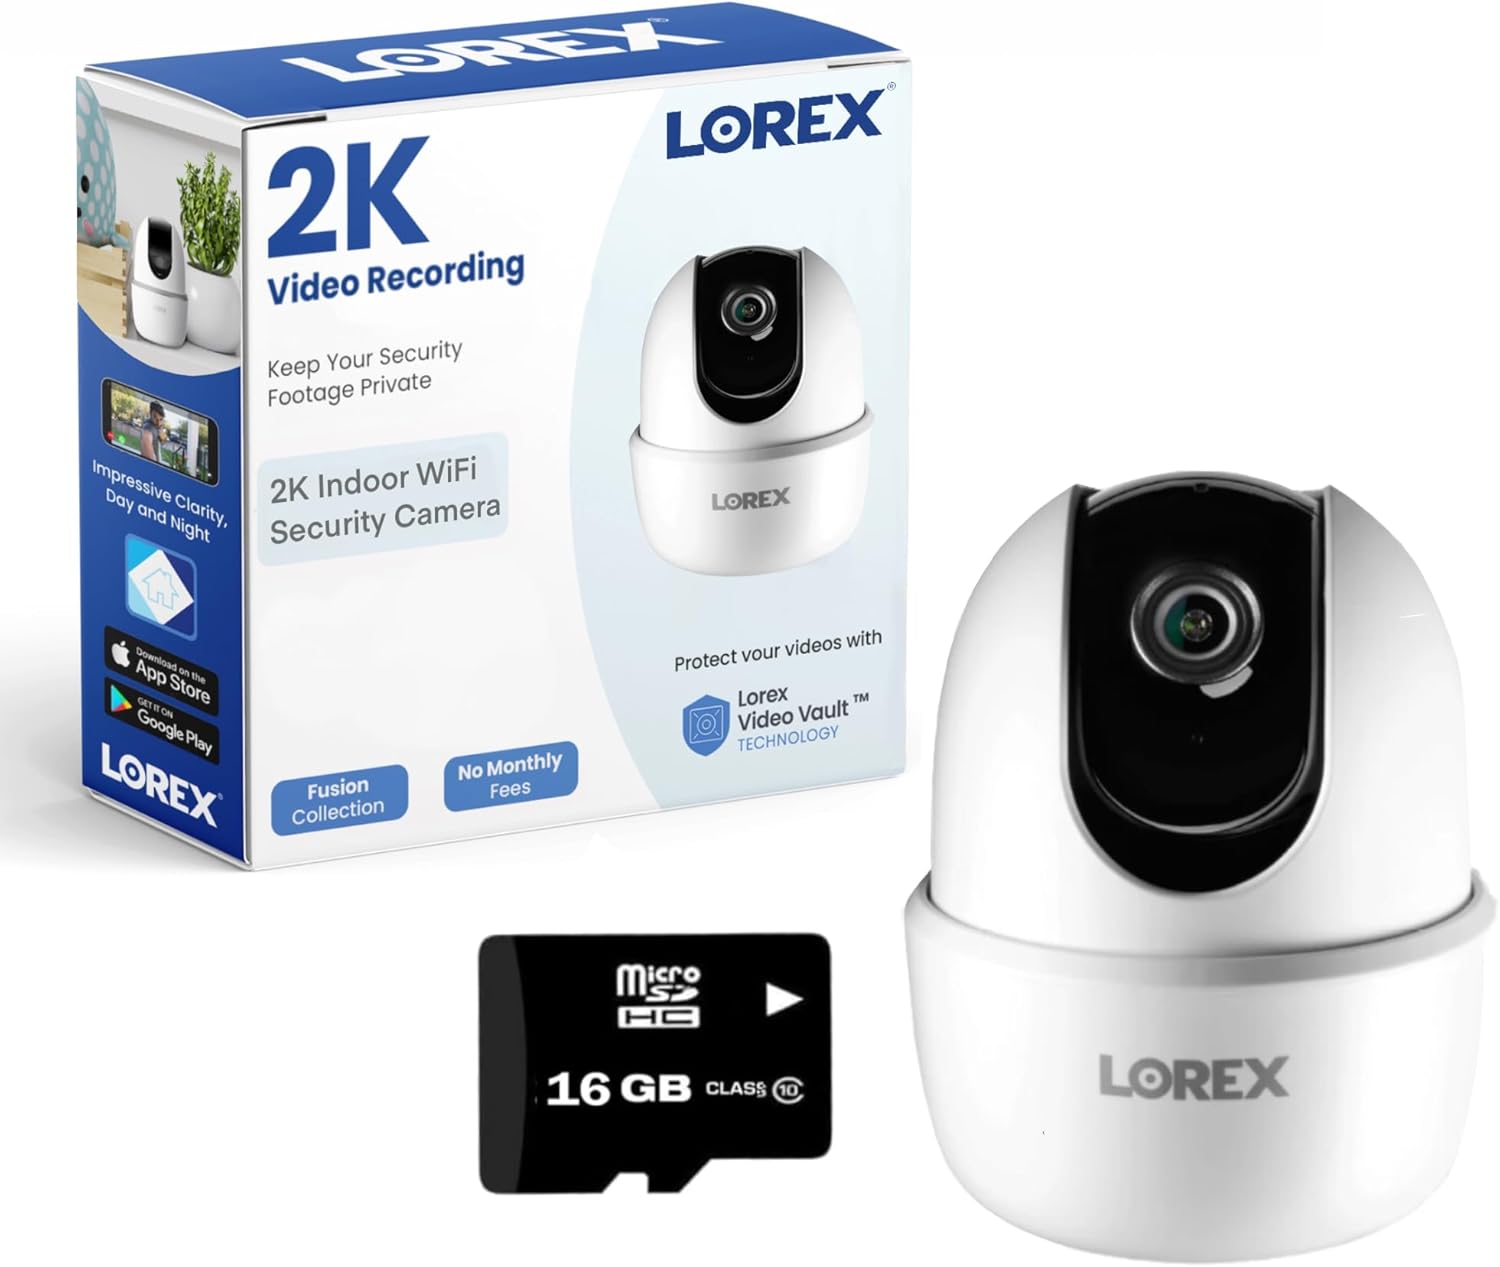
In today’s world, security at home is paramount. The Lorex 4MP Pan & Tilt Indoor Smart Security Camera is designed to provide advanced surveillance features that ensure peace of mind. This article will explore its functionalities, ease of use, and how it fits into a smart home ecosystem.
Product Features
| Feature | Description |
|---|---|
| Person Detection | Advanced motion sensors minimize unnecessary alerts by recognizing when a person enters view. |
| 2-Way Talk | Communicate with visitors through the Lorex Home app via two-way audio functionality. |
| Magnetic Base | Easily mount the camera on various surfaces for flexible placement options. |
| 2K Resolution | Enjoy superior image quality with a 4MP sensor, double the resolution of standard 1080p cameras. |
| Smart Home Compatibility | Integrates seamlessly with Alexa and Google Assistant for enhanced smart home monitoring. |
| Local Storage | Includes a 16GB Micro SD card for local storage without monthly fees, expandable up to 256GB. |
Product Overview
| Pros |
|---|
| High 2K resolution for clear videos. |
| Effective person detection to reduce false alerts. |
| Easy to use with mobile app for remote access. |
| Affordable local storage without hidden fees. |
| Cons |
|---|
| Works only on the 2.4 GHz Wi-Fi band. |
| Requires initial setup and adjustments for optimal performance. |
Understanding the Features of Lorex 4MP Camera
Setting up the Lorex 4MP Pan & Tilt Indoor Smart Security Camera is a straightforward process that enhances your home’s security. First, ensure you have a stable power outlet near the installation point. I personally prefer mounting the camera in a corner of the room, allowing for a wider field of view, but avoiding any obstructions is key.
Once you have the camera in place, connect it to your Wi-Fi network using the Lorex Home app. Follow the step-by-step instructions within the app, which guide you through scanning the QR code displayed on the camera. For optimal performance, I recommend placing the camera at a height of around 7 to 10 feet. This not only maximizes visibility but also minimizes the risk of tampering.
After successful installation, fine-tuning motion detection sensitivity is crucial. You can adjust the settings within the app to suit your preferences—slightly increasing sensitivity in areas with frequent activity ensures you won’t miss important events.
If you encounter issues during setup, such as connectivity problems, try restarting your router or the camera. Many users, including myself, have found that regular firmware updates can resolve compatibility issues and enhance performance, especially with smart home devices. With a bit of patience and attention to placement, your Lorex camera will provide excellent coverage and peace of mind.
Setting Up and Optimizing Your Lorex Camera
Setting up the Lorex 4MP Pan & Tilt Indoor Smart Security Camera is a straightforward process that will allow you to maximize your security capabilities quickly. First, unpack the camera and plug it into a power outlet using the included adapter. Next, download the Lorex Home app from your device’s app store. Once installed, create an account or log in if you already have one.
From the app, select “Add Device” and follow the prompts, which typically include scanning a QR code on the camera. Ensure your phone is connected to the same Wi-Fi network you want the camera to use. After the camera connects, it will take a moment to set up, but soon you’ll be prompted to configure your settings.
To optimize the camera’s features, fine-tune the motion detection sensitivity. In the app, navigate to the motion settings and adjust the sensitivity slider until you find a balance that minimizes false alerts while still catching significant movements. Proper placement is crucial for optimal coverage; position the camera in a corner or at a height that offers a clear view of your desired area.
Users often report occasional connectivity issues. If this happens, try rebooting your router or the camera. Another common concern is the camera’s integration with other smart home devices. Ensure that your devices are all on the same network and check their compatibility with the Lorex system in the app. Many users find that once set up, the Lorex camera becomes a reliable asset in their smart home environment. So, maximize your use of features like two-way audio and person detection by regularly checking for software updates in the app.
Conclusions
The Lorex 4MP Pan & Tilt Indoor Smart Security Camera offers a multitude of features that cater to modern security needs. With options like person detection, two-way talk, and local storage, it provides robust security without ongoing costs. For anyone considering enhancing their home security, this camera is definitely a worthy investment.


